BenefitPay iOS SDK
Integrating iOS BenefitPay SDK in your application
Introduction
Before diving into the development process, it's essential to establish the prerequisites and criteria necessary for a successful build. In this step, we'll outline the specific iOS requirements, including the minimum SDK version and other important details you need to consider. Let's ensure your project is set up for success from the very beginning.
Sample Demo
Step 1: Requirements
- We support from iOS 13.0+
- Swift Version 5.0+
- Objective-C
Step 2: Get Your Public Keys
While you can certainly use the sandbox keys available within our sample app which you can get by following the installation process, however, we highly recommend visiting our onboarding page, there you'll have the opportunity to register your package name and acquire your essential Tap Key for activating BenefitPay-iOS integration.
Step 3: Installation
-
Swift Package Manager
- Open your project's settings.
- Navigate to
Package Dependencies - Add a new package
- Paste
BenefitPay-iOSpackage url : https://github.com/Tap-Payments/BenefitPay-iOS.git - Add to the target.

pod install
pod update
Step 4: Integrating BenefitPay-iOS
This integration offers two distinct options: a simple integration designed for rapid development and streamlined merchant requirements, and an advanced integration that adds extra features for a more dynamic payment integration experience.
Integration Flow
your storyboard then implement the functionality through code or fully create it by code. Below we will describe both flows:
- You will have to create a variable of type BenefitPayButton, which can be done in one of two ways:
- Created in the storyboard and then linked to a variable in code.
- Created totally within the code.
- Once you create the variable in any way, you will have to follow these steps:
- Create the parameters.
- Pass the parameters to the variable.
- Implement BenefitPayButtonDelegate protocol, which allows you to get notified by different events fired from within the BenefitPay-iOS SDK, also called callback functions.
Initialising the UI
Note: You can initialise the BenefitPay-iOS SDK either using Storyboard for the UIView then implementing the functionality through code or directly create everything through Code as provided below.
Using Storyboard
- Creating the BenefitPayButton in storyboard
- Drag and drop a UIView inside the UIViewController you want in the Storyboard.
- Declare as of type
BenefitPayButton - Make an IBOutlet to the
UIViewController.
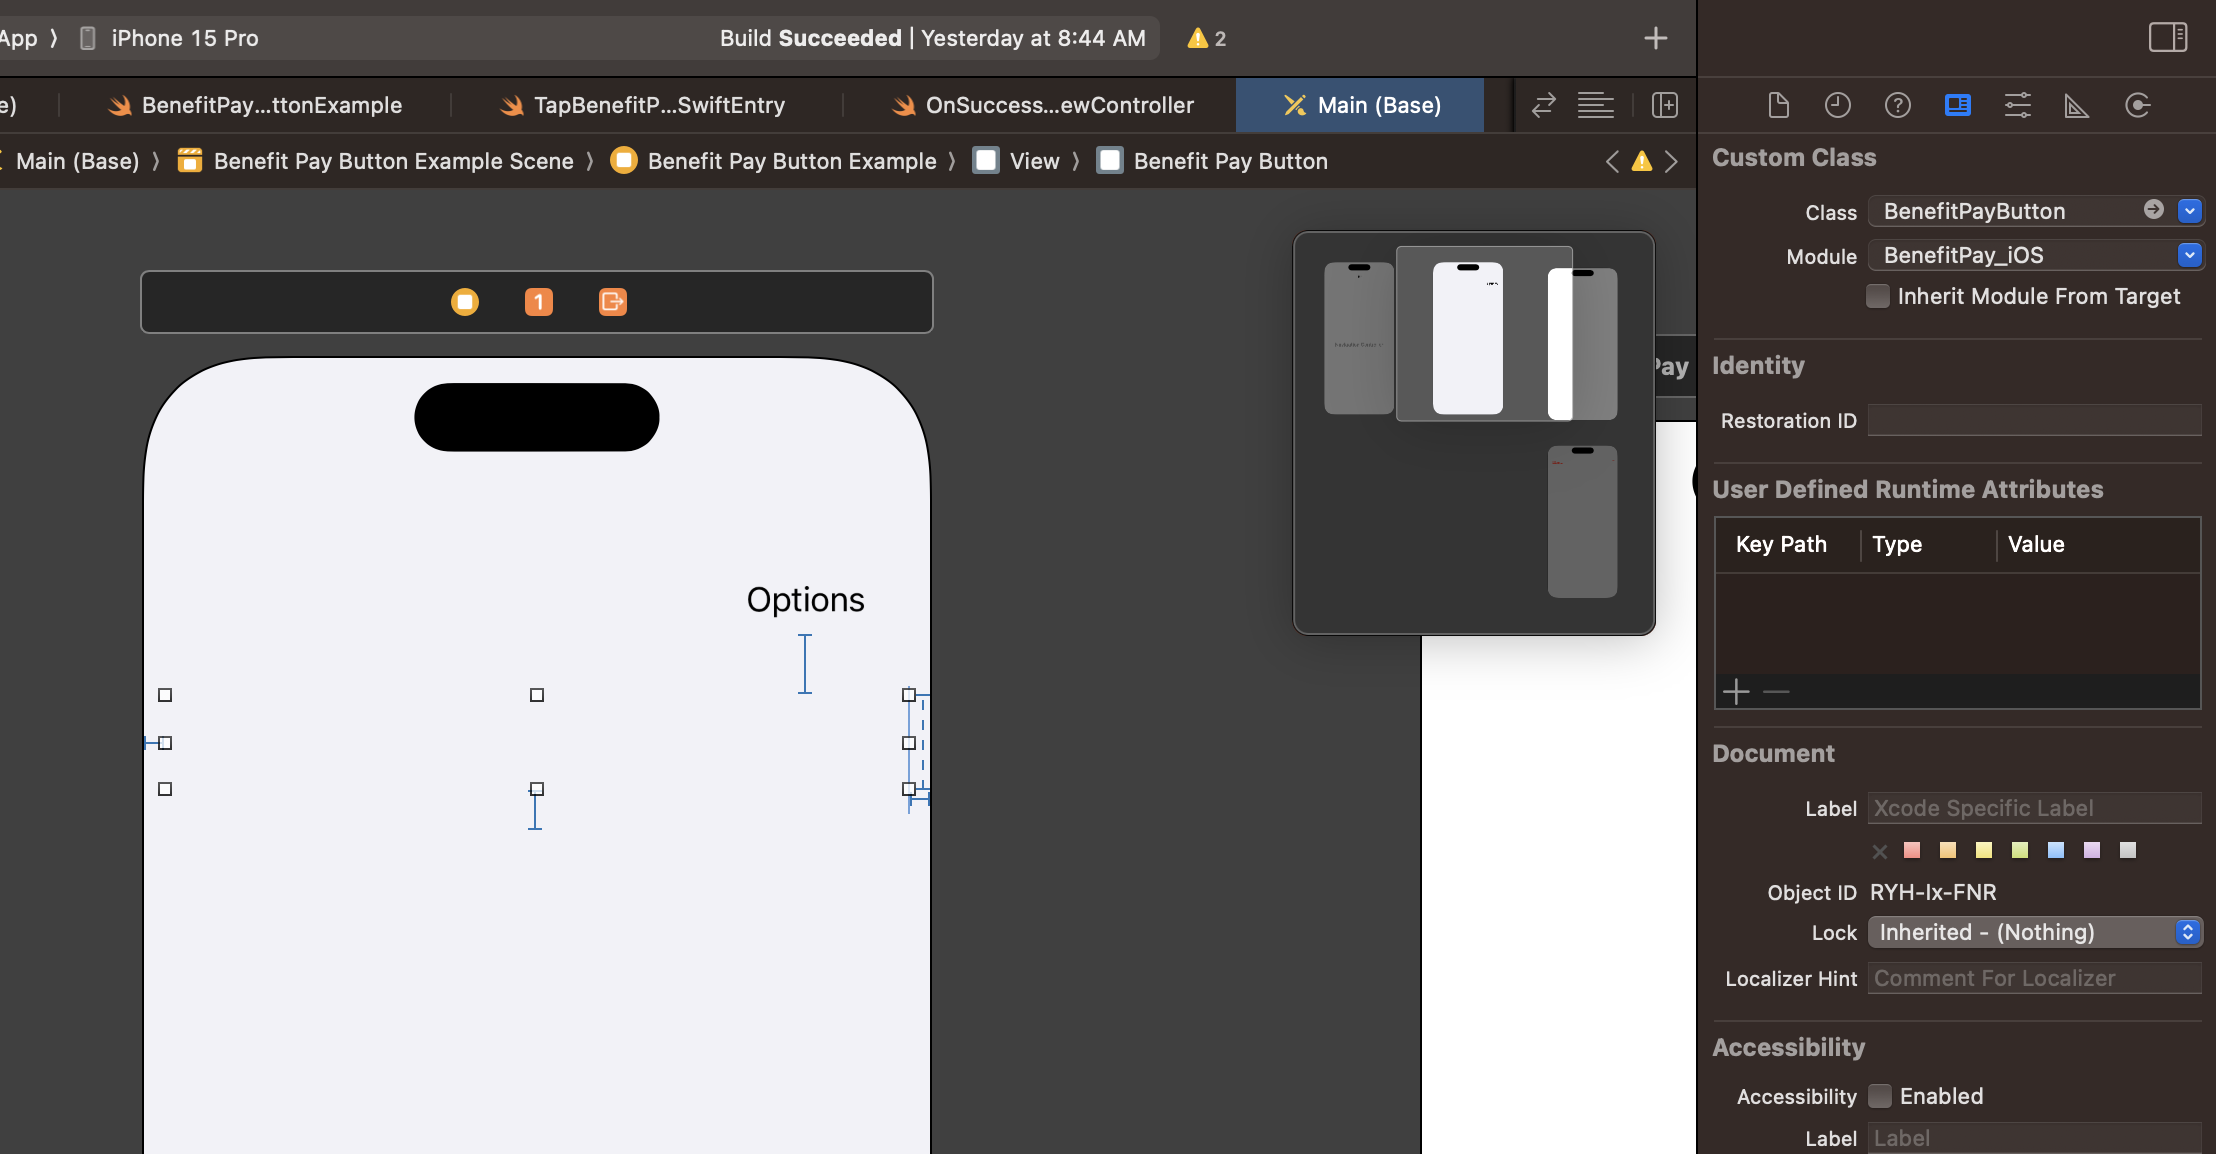
- Accessing the BenefitPayButton created in storyboard in your code 3. Create an IBOutlet from the created view above to your UIViewController
 /// The outlet from the created view above
@IBOutlet weak var benefitPayButton: BenefitPayButton!
Using Code to create the BenefitPayButton
- Creating the BenefitPayButton from code
- Head to your UIViewController where you want to display the BenefitPayButton as a subview.
- Import BenefitPay-iOS as follows import BenefitPay_iOS at the top of your UIViewController.
- Create a class variable var benefitPayButton:BenefitPayButton = .init() /// An instance of the benefit pay button
- In the coming code sample, we will show how to create the view and how to set its layout constraints to take full width as recommended.
.
.
.
// Add it as a subview
view.addSubview(benefitPayButton)
// Make it adjusts to constraints at run time
benefitPayButton.translatesAutoresizingMaskIntoConstraints = **false**
// Set the constraints as recommended by us to have full width + leading & trailing paddings.
// Let us center vertically for demo purposes
// Height is to be set to 48
NSLayoutConstraint.activate([
benefitPayButton.leadingAnchor.constraint(equalTo: **self**.view.leadingAnchor, constant: 10),
benefitPayButton.trailingAnchor.constraint(equalTo: **self**.view.trailingAnchor, constant: -10),
benefitPayButton.centerYAnchor.constraint(equalTo: **self**.view.centerYAnchor)])
.
.
Step 5: Choose your Integration
Simple Integration
Here, you'll discover a comprehensive table featuring the parameters applicable to the simple integration. Additionally, you'll explore the various methods for integrating the SDK, either using storyboard to create the layout and then implementing the controllers functionalities by code, or directly using code. Furthermore, you'll gain insights into how to receive the callback notifications.
Parameters
Each parameter is linked to the reference section, which provides a more in depth explanation of it.
| Parameter | Description | Required | Type | Sample |
|---|---|---|---|---|
| operator | It has the key obtained after registering your package name, also known as Public key. Also, the hashString value which is used to validate live charges. | True | Dictionary | let operator:[String:Any]\: ["publicKey":"pk_test_YhUjg9PNT8oDlKJ1aE2fMRz7", "hashString":""] |
| order | Order details linked to the charfe. | True | Dictionary | let order:[String:String] = \["id":"", "amount":1, "currency":"SAR", "description": " description","reference":"","metadata":[:]] |
| customer | Customer details for charge process. | True | Dictionary | let customer = \["id":"","name":\[["lang":"en","first":"TAP","middle":"","last":"PAYMENTS"]], "contact":\["email":"[[email protected]](mailto:[email protected])", "phone":["countryCode":"+965","number":"88888888"]]] |
Configuring the BenefitPay-iOS SDK
After creating the UI using any of the previously mentioned ways, it is time to pass the parameters needed for the SDK to work as expected and serve your need correctly.
-
Creating the parameters
To allow flexibility and to ease the integration, your application will only has to pass the parameters as a
Dictionary[String:Any].
First, let us create the required parameters:/// The minimum needed configuration dictionary let parameters: [String: Any] = [ "operator": ["publicKey": "pk_test_HJN863LmO15EtDgo9cqK7sjS", "hashString": ""], "order": [ "id": "", "amount": 0.1, "currency": "BHD", "description": "description", "reference": "" ], "customer": [ "id": "", "name": [["lang": "en", "first": "TAP", "middle": "", "last": "PAYMENTS"]], "contact": [ "email": "[email protected]", "phone": ["countryCode": "+965", "number": "88888888"], ], ], ] -
Pass these parameters to the created Button variable before as follows
// We provide the button view the needed parameters and we assign ourselves optionally to be the delegate, where we can listen to callbacks.
benefitPayButton.initBenefitPayButton(configDict: parameters, delegate: self)
Full code snippet for creating the parameters + passing it BenefitPayButton variable
import BenefitPay_iOS
import UIKit

class ViewController: UIViewController {

  /// Create a class variable to hold your benefit pay button
  var benefitPayButton: BenefitPayButton = .init()
  /// The minimum needed configuration dictionary
  let parameters: [String: Any] =
    [
      "operator": ["publicKey": "pk_test_HJN863LmO15EtDgo9cqK7sjS", "hashString": ""],
      "order": [
        "id": "",
        "amount": 0.1,
        "currency": "BHD",
        "description": "description",
        "reference": "",
      ],
      "customer": [
        "id": "",
        "name": [["lang": "en", "first": "TAP", "middle": "", "last": "PAYMENTS"]],
        "contact": [
          "email": "[email protected]",
          "phone": ["countryCode": "+965", "number": "88888888"],
        ],
      ],
    ]

  override func viewDidLoad() {
    super.viewDidLoad()
    // Do any additional setup after loading the view.

    // Add it as a subview
    view.addSubview(benefitPayButton)
    // Make it adjusts to constraints at run time
    benefitPayButton.translatesAutoresizingMaskIntoConstraints = false
    // Set the constraints as recommended by us to have full width + leading & trailing paddings.
    // Let us center vertically for demo purposes
    // Height is to be set to 48
    NSLayoutConstraint.activate([
      benefitPayButton.leadingAnchor.constraint(equalTo: self.view.leadingAnchor, constant: 10),
      benefitPayButton.trailingAnchor.constraint(equalTo: self.view.trailingAnchor, constant: -10),
      benefitPayButton.centerYAnchor.constraint(equalTo: self.view.centerYAnchor),
    ])

    // let us configure the button
    benefitPayButton.initBenefitPayButton(configDict: parameters, delegate: self)

  }

}

extension ViewController: BenefitPayButtonDelegate {

}
Receiving Callback Notifications
Now we have created the UI and the parameters required to to correctly display BenefitPayButton form. For the best experience, your class will have to implement BenefitPayButtonDelegate protocol, which is a set of optional callbacks, that will be fired based on different events from within the benefit button. This will help you in deciding the logic you need to do upon receiving each event. Kindly follow the below steps in order to complete the mentioned flow:
- Go back to UIViewController/UiView file you want to get the callbacks into.
- Head to the class declaration line
- Add BenefitPayButtonDelegate
- Override the required callbacks as follows:
  ///  Will be fired whenever there is an error related to the button connectivity or apis
  ///  - Parameter  data: includes a JSON format for the error description and error
  func onError(data: String) {
	print("\n\n========\n\nonError \(data))")
  }
	///  Will be fired whenever the charge is completed, regardless of its status.
	///  - Parameter  data: includes a JSON format for the charge details
  func onSuccess(data: String) {
	print("\n\n========\n\nonSuccess \(data))")
  }
  ///  Will be fired whenever the benefit pay button is rendered and loaded
  func onReady() {
    print("\n\n========\n\nonReady")
  }
Full code snippet for creating the parameters + passing it BenefitPayButton variable + Listening to callbacks
//
//  ViewController.swift
//  BenefitPayDemo
//
//  Created by Osama Rabie on 19/10/2023.
//

import BenefitPay_iOS
import UIKit

class ViewController: UIViewController {

  /// Create a class variable to hold your benefit pay button
  var benefitPayButton: BenefitPayButton = .init()
  /// The minimum needed configuration dictionary
  let parameters: [String: Any] =
    [
      "operator": ["publicKey": "pk_test_HJN863LmO15EtDgo9cqK7sjS", "hashString": ""],
      "order": [
        "id": "",
        "amount": 0.1,
        "currency": "BHD",
        "description": "description",
        "reference": "",
      ],
      "customer": [
        "id": "",
        "name": [["lang": "en", "first": "TAP", "middle": "", "last": "PAYMENTS"]],
        "contact": [
          "email": "[email protected]",
          "phone": ["countryCode": "+965", "number": "88888888"],
        ],
      ],
    ]

  override func viewDidLoad() {
    super.viewDidLoad()
    // Do any additional setup after loading the view.

    // Add it as a subview
    view.addSubview(benefitPayButton)
    // Make it adjusts to constraints at run time
    benefitPayButton.translatesAutoresizingMaskIntoConstraints = false
    // Set the constraints as recommended by us to have full width + leading & trailing paddings.
    // Let us center vertically for demo purposes
    // Height is to be set to 48
    NSLayoutConstraint.activate([
      benefitPayButton.leadingAnchor.constraint(equalTo: self.view.leadingAnchor, constant: 10),
      benefitPayButton.trailingAnchor.constraint(equalTo: self.view.trailingAnchor, constant: -10),
      benefitPayButton.centerYAnchor.constraint(equalTo: self.view.centerYAnchor),
    ])

    // let us configure the button
    benefitPayButton.initBenefitPayButton(configDict: parameters, delegate: self)

  }

}

extension ViewController: BenefitPayButtonDelegate {
  func onError(data: String) {
    print("\n\n========\n\nonError \(data))")
  }

  func onSuccess(data: String) {
    print("\n\n========\n\nonSuccess \(data))")
  }

  func onReady() {
    print("\n\n========\n\nonReady")
  }
}
Advanced Integration
The advanced configuration for the BenefitPay-iOS integration not only has all the features available in the simple integration but also introduces new capabilities, providing merchants with maximum flexibility. You can find a code below, where you'll discover comprehensive guidance on implementing the advanced flow as well as a complete description of each parameter.
Parameters
Each parameter is linked to the reference section, which provides a more in depth explanation of it.
| Parameter | Description | Required | Type | Sample |
|---|---|---|---|---|
| operator | It has the key obtained after registering your package name, also known as Public key. Also, the hashString value which is used to validate live charges. | True | Dictionary | let operator:[String:Any]\: ["publicKey":"pk_test_YhUjg9PNT8oDlKJ1aE2fMRz7", "hashString":""] |
| Order | Order details linked to the charfe. | True | Dictionary | let order:[String:String] = \["id":"", "amount":1, "currency":"SAR", "description": " description","reference":"","metadata":[:]] |
| customer | Customer details for charge process. | True | Dictionary | let customer = \["id":"","name":\[["lang":"en","first":"TAP","middle":"","last":"PAYMENTS"]], "contact":\["email":"[[email protected]](mailto:[email protected])", "phone":["countryCode":"+965","number":"88888888"]]] |
| interface | Look and feel related configurations (optional). | False | Dictionary | let interface:[String:String] = ["locale": "en", "theme": "light", "edges": "curved", "colorStyle": "colored", "loader": true] |
| post | Webhook for server-to-server updates (optional). | False | Dictionary | let post:[String:String] = ["url":""] |
Initialisation of the input
You can use a Dictionary to send data to our SDK. The benefit is that you can generate this data from one of your APIs. If we make updates to the configurations, you can update your API, avoiding the need to update your app on the App Store.
  /// The   configuration dictionary
  let parameters: [String: Any] =  [
      "operator": ["publicKey": "pk_test_HJN863LmO15EtDgo9cqK7sjS", "hashString": ""],
      "order": [
        "id": "",
        "amount": 0.1,
        "currency": "BHD",
        "description": "description",
        "reference": "",
        "metadata": [:],
      ],
      "invoice": ["id": ""],
      "merchant": ["id": ""],
      "customer": [
        "id": "",
        "name": [["lang": "en", "first": "TAP", "middle": "", "last": "PAYMENTS"]],
        "contact": [
          "email": "[email protected]",
          "phone": ["countryCode": "+965", "number": "88888888"],
        ],
      ],
      "interface": [
        "locale": "en",
        "theme":"light",
        "edges": "curved",
        "colorStyle": "colored",
        "loader": true,
      ],
      "post": ["url": ""],
    ]
Receiving Callback Notifications (Advanced Version)
The below will allow the integrators to get notified from events fired from the BenefitPayButton.
  ///  Will be fired whenever there is an error related to the button connectivity or apis
  ///  - Parameter  data: includes a JSON format for the error description and error
  func onError(data: String) {
	print("\n\n========\n\nonError \(data))")
  }
	///  Will be fired whenever the charge is completed, regardless of its status.
	///  - Parameter  data: includes a JSON format for the charge details
  func onSuccess(data: String) {
	print("\n\n========\n\nonSuccess \(data))")
  }

	///  Will be fired whenever the order is created. use it, if you want to retrieve its data from your backend for state manegement purposes
	///  - Parameter  data: Order id.
  func onOrderCreated(data: String) {
	print("\n\n========\n\nonOrderCreated \(data))")
  }
	///  Will be fired whenever the charge is created. use it, if you want to retrieve its data from your backend for state manegement purposes
	///  - Parameter  data: json data representing the charge model.

  func onChargeCreated(data: String) {
	print("\n\n========\n\nonChargeCreated \(data))")
  }
  ///  Will be fired whenever the benefit pay button is rendered and loaded
  func onReady() {
    print("\n\n========\n\nonReady")
  }
  ///  Will be fired whenever the customer clicked on the benefit pay button. Now the button will be in loading state to render the benefit pay popup
  func onClicked() {
    print("\n\n========\n\nonClicked")
  }

  ///  Will be fired whenever the customer cancels the payment. This will reload the button once again
  func onCanceled() {
    print("\n\n========\n\nonCanceled")
  }
Full Code Sample
Once all of the above steps are successfully completed, your UIViewController file should look like this:
import BenefitPay_iOS
import UIKit

class ViewController: UIViewController {

  /// Create a class variable to hold your benefit pay button
  var benefitPayButton: BenefitPayButton = .init()
  /// The minimum needed configuration dictionary
  let parameters: [String: Any] =
    [
      "operator": ["publicKey": "pk_test_HJN863LmO15EtDgo9cqK7sjS", "hashString": ""],
      "order": [
        "id": "",
        "amount": 0.1,
        "currency": "BHD",
        "description": "description",
        "reference": "",
        "metadata": [:],
      ],
      "invoice": ["id": ""],
      "merchant": ["id": ""],
      "customer": [
        "id": "",
        "name": [["lang": "en", "first": "TAP", "middle": "", "last": "PAYMENTS"]],
        "contact": [
          "email": "[email protected]",
          "phone": ["countryCode": "+965", "number": "88888888"],
        ],
      ],
      "interface": [
        "locale": "en",
        "theme": UIView().traitCollection.userInterfaceStyle == .dark ? "dark" : "light",
        "edges": "curved",
        "colorStyle": UIView().traitCollection.userInterfaceStyle == .dark
          ? "monochrome" : "colored",
        "loader": true,
      ],
      "post": ["url": ""],
    ]

  override func viewDidLoad() {
    super.viewDidLoad()
    // Do any additional setup after loading the view.

    // Add it as a subview
    view.addSubview(benefitPayButton)
    // Make it adjusts to constraints at run time
    benefitPayButton.translatesAutoresizingMaskIntoConstraints = false
    // Set the constraints as recommended by us to have full width + leading & trailing paddings.
    // Let us center vertically for demo purposes
    // Height is to be set to 48
    NSLayoutConstraint.activate([
      benefitPayButton.leadingAnchor.constraint(equalTo: self.view.leadingAnchor, constant: 10),
      benefitPayButton.trailingAnchor.constraint(equalTo: self.view.trailingAnchor, constant: -10),
      benefitPayButton.centerYAnchor.constraint(equalTo: self.view.centerYAnchor),
    ])

    // let us configure the button
    benefitPayButton.initBenefitPayButton(configDict: parameters, delegate: self)

  }

}

extension ViewController: BenefitPayButtonDelegate {
  func onError(data: String) {
    print("\n\n========\n\nonError \(data))")
  }

  func onSuccess(data: String) {
    print("\n\n========\n\nonSuccess \(data))")
  }

  func onOrderCreated(data: String) {
    print("\n\n========\n\nonOrderCreated \(data))")
  }

  func onChargeCreated(data: String) {
    print("\n\n========\n\nonChargeCreated \(data))")
  }

  func onReady() {
    print("\n\n========\n\nonReady")
  }

  func onClick() {
    print("\n\n========\n\nonClicked")
  }

  func onCanceled() {
    print("\n\n========\n\nonCanceled")
  }
}
Generate the hash string
-
Import the Crypto
import CryptoKit -
Copy this helper method code
/** This is a helper method showing how can you generate a hash string when performing live charges - Parameter publicKey: The Tap public key for you as a merchant pk_..... - Parameter secretKey: The Tap secret key for you as a merchant sk_..... - Parameter amount: The amount you are passing to the SDK, ot the amount you used in the order if you created the order before. - Parameter currency: The currency code you are passing to the SDK, ot the currency code you used in the order if you created the order before. PS: It is the capital case of the 3 iso country code ex: SAR, KWD. - Parameter post: The post url you are passing to the SDK, ot the post url you pass within the Charge API. If you are not using postUrl please pass it as empty string - Parameter transactionReference: The reference.trasnsaction you are passing to the SDK(not all SDKs supports this,) or the reference.trasnsaction you pass within the Charge API. If you are not using reference.trasnsaction please pass it as empty string */ func generateTapHashString(publicKey:String, secretKey:String, amount:Double, currency:String, postUrl:String = "", transactionReference:String = "") -> String { // Let us generate our encryption key let key = SymmetricKey(data: Data(secretKey.utf8)) // For amounts, you will need to make sure they are formatted in a way to have the correct number of decimal points. For BHD we need them to have 3 decimal points let formattedAmount:String = String(format: "%.3f", amount) // Let us format the string that we will hash let toBeHashed = "x_publickey\(publicKey)x_amount\(formattedAmount)x_currency\(currency)x_transaction\(transactionReference)x_post\(postUrl)" // let us generate the hash string now using the HMAC SHA256 algorithm let signature = HMAC<SHA256>.authenticationCode(for: Data(toBeHashed.utf8), using: key) let hashedString = Data(signature).map { String(format: "%02hhx", $0) }.joined() return hashedString } -
Call it as follows
let hashString:String = generateTapHashString(publicKey: publicKey, secretKey: secretString, amount: amount, currency: currency, postUrl: postUrl) -
Pass it within the operator model
let operatorModel:[String:String] = ["publicKey": "pk_test_HJN863LmO15EtDgo9cqK7sjS", "hashString": hashString]Sample Callbacks Responses
onError
{
    "error":""
}
onOrderCreated
"ord_uAx145231127yHYS19Ou9B126"onChargeCreated
{
    "id": "chg_TS07A5220231433Ql241910314",
    "object": "charge",
    "live_mode": false,
    "customer_initiated": true,
    "api_version": "V2",
    "method": "CREATE",
    "status": "INITIATED",
    "amount": 0.1,
    "currency": "BHD",
    "threeDSecure": true,
    "card_threeDSecure": false,
    "save_card": false,
    "order_id": "ord_uAx145231127yHYS19Ou9B126",
    "product": "GOSELL",
    "order": {
        "id": "ord_uAx145231127yHYS19Ou9B126"
    },
    "transaction": {
        "timezone": "UTC+03:00",
        "created": "1697726033236",
        "url": "",
        "expiry": {
            "period": 30,
            "type": "MINUTE"
        },
        "asynchronous": false,
        "amount": 0.1,
        "currency": "BHD"
    },
    "response": {
        "code": "100",
        "message": "Initiated"
    },
    "receipt": {
        "email": true,
        "sms": true
    },
    "customer": {
        "first_name": "TAP",
        "last_name": "PAYMENTS",
        "email": "[email protected]",
        "phone": {
            "country_code": " 965",
            "number": "88888888"
        }
    },
    "merchant": {
        "country": "KW",
        "currency": "KWD",
        "id": "599424"
    },
    "source": {
        "object": "source",
        "id": "src_benefit_pay"
    },
    "redirect": {
        "status": "PENDING",
        "url": ""
    },
    "post": {
        "status": "PENDING",
        "url": ""
    },
    "activities": [
        {
            "id": "activity_TS02A5420231433Mx4g1910470",
            "object": "activity",
            "created": 1697726033236,
            "status": "INITIATED",
            "currency": "BHD",
            "amount": 0.1,
            "remarks": "charge - created"
        }
    ],
    "auto_reversed": false,
    "gateway_response": {
        "name": "BENEFITPAY",
        "request": {
            "amount": "0.100",
            "currency": "BHD",
            "hash": "gMjpC12Ffz+CMhyvm+/jdYJmqbPdgAhHJvvGBABYhCI=",
            "reference": {
                "transaction": "chg_TS07A5220231433Ql241910314"
            },
            "merchant": {
                "id": "00000101"
            },
            "application": {
                "id": "4530082749"
            },
            "configuration": {
                "show_result": "0",
                "hide_mobile_qr": "0",
                "frequency": {
                    "start": 120,
                    "interval": 60,
                    "count": 10,
                    "type": "SECOND"
                }
            }
        }
    }
}
onSuccess
{
    "id": "chg_TS07A5220231433Ql241910314",
    "object": "charge",
    "live_mode": false,
    "customer_initiated": true,
    "api_version": "V2",
    "method": "UPDATE",
    "status": "INITIATED",
    "amount": 0.1,
    "currency": "BHD",
    "threeDSecure": true,
    "card_threeDSecure": false,
    "save_card": false,
    "order_id": "ord_uAx145231127yHYS19Ou9B126",
    "product": "GOSELL",
    "description": "",
    "order": {
        "id": "ord_uAx145231127yHYS19Ou9B126"
    },
    "transaction": {
        "timezone": "UTC+03:00",
        "created": "1697726033236",
        "url": "https://sandbox.payments.tap.company/test_gosell/v2/payment/tap_process.aspx?chg=8D9e9fdEo5N03hWrGnROvEEFw4DfqYVFv8R7R34GITc%3d",
        "expiry": {
            "period": 30,
            "type": "MINUTE"
        },
        "asynchronous": false,
        "amount": 0.1,
        "currency": "BHD"
    },
    "response": {
        "code": "100",
        "message": "Initiated"
    },
    "receipt": {
        "email": true,
        "sms": true
    },
    "customer": {
        "first_name": "TAP",
        "last_name": "PAYMENTS",
        "email": "[email protected]",
        "phone": {
            "country_code": " 965",
            "number": "88888888"
        }
    },
    "merchant": {
        "country": "KW",
        "currency": "KWD",
        "id": "599424"
    },
    "source": {
        "object": "source",
        "id": "src_benefit_pay"
    },
    "redirect": {
        "status": "PENDING",
        "url": ""
    },
    "post": {
        "status": "PENDING",
        "url": ""
    },
    "activities": [
        {
            "id": "activity_TS02A5420231433Mx4g1910470",
            "object": "activity",
            "created": 1697726033236,
            "status": "INITIATED",
            "currency": "BHD",
            "amount": 0.1,
            "remarks": "charge - created"
        }
    ],
    "auto_reversed": false,
    "gateway_response": {
        "name": "BENEFITPAY",
        "request": {
            "amount": "0.100",
            "currency": "BHD",
            "hash": "gMjpC12Ffz+CMhyvm+/jdYJmqbPdgAhHJvvGBABYhCI=",
            "reference": {
                "transaction": "chg_TS07A5220231433Ql241910314"
            },
            "merchant": {
                "id": "00000101"
            },
            "application": {
                "id": "4530082749"
            },
            "configuration": {
                "show_result": "0",
                "hide_mobile_qr": "0",
                "frequency": {
                    "start": 120,
                    "interval": 60,
                    "count": 10,
                    "type": "SECOND"
                }
            }
        }
    }
}
Parameters Reference
Below you will find more details about each parameter shared in the above tables that will help you easily integrate BenefitPay-iOS SDK.
operator
-
Definition: It links the payment gateway to your merchant account with Tap, in order to know your business name, logo, etc...
-
Type: string (required)
-
Fields:
- publicKey
Definition: This is a unique public key that you will receive after creating an account with Tap which is considered a reference to identify you as a merchant. You will receive 2 public keys, one for sandbox/testing and another one for production.
- publicKey
-
Example:
let operator:[String:Any]: ["publicKey":"pk_test_YhUjg9PNT8oDlKJ1aE2fMRz7", "hashString":""]
order
-
Definition: This defined the details of the order that you are trying to purchase, in which you need to specify some details like the id, amount, currency ...
-
Type: Dictionary, (required)
-
Fields:
- id
Definition: Pass the order ID created for the order you are trying to purchase, which will be available in your database.
Note: This field can be empty - currency
Definition: The currency which is linked to the order being paid. - amount
Definition: The order amount to be paid by the customer.
Note: Minimum amount to be added is 0.1. - description
Definition: Order details, which defines what the customer is paying for or the description of the service you are providing. - reference
Definition: This will be the order reference present in your database in which the paying is being done for.
- id
-
Example:
let order: [String: String] = [
    "id": "", "amount": 1, "currency": "SAR", "description": "Authentication description",
    "reference": "",
  ]
merchant
-
Definition: It is the Merchant id that you get from our onboarding team. This will be used as reference for your account in Tap.
-
Type: Dictionary (required)
-
Fields:
-
id
_Definition:_Generated once your account with Tap is created, which is unique for every merchant.
Example:let merchant:[String:String] = ["id":""]
-
invoice
- Definition: After the token is generated, you can use it to pay for any invoice. Each invoice will have an invoice ID which you can add here using the SDK.
Note: An invoice will first show you a receipt/summary of the order you are going to pay for as well as the amount, currency, and any related field before actually opening the payment form and completing the payment. - Type: Dictionary (optional)
- Fields:
- id
Definition_:Unique Invoice ID which we are trying to pay.
Example:
- id
let invoice:[String:String] = ["id":""]customer
- Definition: Here, you will collect the information of the customer that is paying using the token generate in the SDK.
- Type: Dictionary (required)
- Fields:
- id
Definition: This is an optional field that you do not have before the token is generated. But, after the token is created once the card details are added, then you will receive the customer ID in the response which can be handled in the onSuccess callback function. - name
Definition: Full Name of the customer paying.
Fields:- lang
Definition: Language chosen to write the customer name. - first
Definition: Customer's first name. - middle
Definition: Customer's middle name. - last
Definition: Customer's last name.
- lang
- contact
Definition: The customer's contact information like email address and phone number.
Note: The contact information has to either have the email address or the phone details of the customers or both but it should not be empty.
Fields:- email
Definition: Customer's email address
Note: The email is of type string. - phone
Definition: Customer's Phone number details- countryCode
- number
- email
- id
Example:
let customer: [String: Any] = [
      "id": "", "name": [["lang": "en", "first": "TAP", "middle": "", "last": "PAYMENTS"]],
      "contact": [
        "email": "[email protected]", "phone": ["countryCode": "+965", "number": "88888888"],
      ],
    ]
interface
-
Definition: This will help you control the layout (UI) of the payment form, like changing the theme light to dark, the language used (en or ar), ...
-
Type: Dictionary (optional)
-
Fields:
- loader
_Definition: _A boolean to indicate wether or not you want to show a loading view on top of the card form while it is performing api requests. - locale
_Definition: _The language of the card form. Accepted values as of now are:
Possible Values:- en(for english)
- ar(for arabic).
- theme
Definition: The display styling of the card form. Accepted values as of now are:
Options:- light
- dark
- dynamic ( follow the device's display style )
- edges
_Definition: _Control the edges of the payment form.
Possible Values:- curved
- flat
- colorStyle
Definition: How do you want the icons rendered inside the card form.
Possible Values:- colored
- monochrome
- loader
-
Example:
let interface: [String: String] = [
      "locale": "en", "theme": "light", "edges": "curved",
      "colorStyle": "colored", "loader": true,
    ]
post
- Definition: Here you can pass the webhook URL you have, in order to receive notifications of the results of each Transaction happening on your application.
- Type: Dictionary (optional)
- Fields:
- url
Definition: The webhook server's URL that you want to receive notifications on.
Example:
- url
let post:[String:String] = ["url":""]Updated 3 months ago